


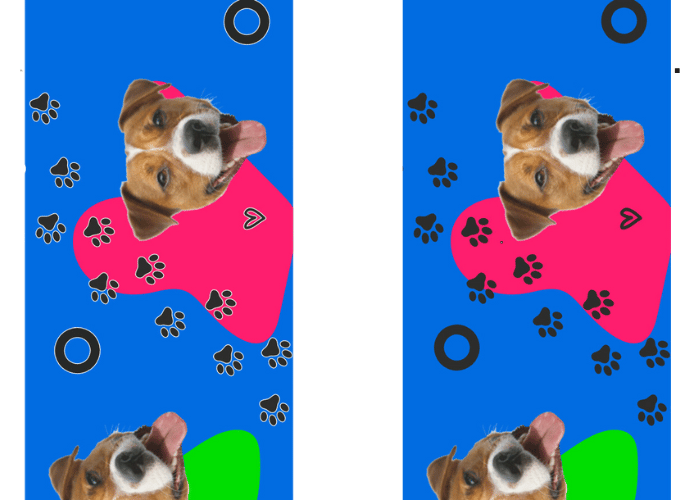
When do we use contour lines?
In today’s world of design, where details play a crucial role, using the right tools and techniques becomes extremely important. One such tool that has an impact on the final look of a design is the contour pen. This commonly used tool offers the possibility of adding depth to elements, emphasizing their form, and bringing out details. Its use is particularly important in designing patterns on tapes, where it serves as an effective technique in maintaining aesthetics in prints on small elements with a large amount of color, especially when the outline is printed on a non-smooth surface or when the background and object colors merge into one. In general, the contour pen should be used whenever we want to highlight the boundaries between objects or between objects and the background.
Principles of applying contour lines
When defining the shape and giving it distinctiveness, it is worth paying attention to several important aspects. Firstly, there is the question of whether the outline on the tape should be visible as an important decorative element or if it is just a contour serving as a barrier to prevent color blending with the background. In the first case, it is recommended to use thick lines, but it should be remembered that small design elements may not be suitable for this concept. In the second case, it is worth ensuring the subtlety of the outline, usually white, treating it as a break between the element itself and the background. It is also important to maintain a consistent line thickness to avoid differences in the outline between different elements, which could negatively affect aesthetics. When designing, it is also important to maintain the continuity of lines so that different elements do not overlap each other. A smooth and uninterrupted outline adds elegance and coherence to the designed project.

How to Add a Contour in Popular Graphic Programs?
Adobe Illustrator:
Open the Project:
- Launch Adobe Illustrator.
- Open the project you want to work on.
- Select the Element
- Choose the “Selection Tool”.
- Click on the element to which you want to add a contour.
- Add Contour:
- Click on the “Stroke and Fill” tool on the toolbar.
- Double-click on the “Fill” option to fill the outline.
- When you select a color from the color panel, it will be automatically applied to the selected object.
CorelDRAW:
- Open the Project:
- Launch CorelDRAW.
- Open the project you want to work on.
- Select the Element:
- Choose the “Pointer” tool.
- Click on the element to which you want to add a contour.
- Add Contour:
- Go to the “Object” menu > “Properties”
- Go to the outline tab in the properties panel and select the thickness and color of the contour.